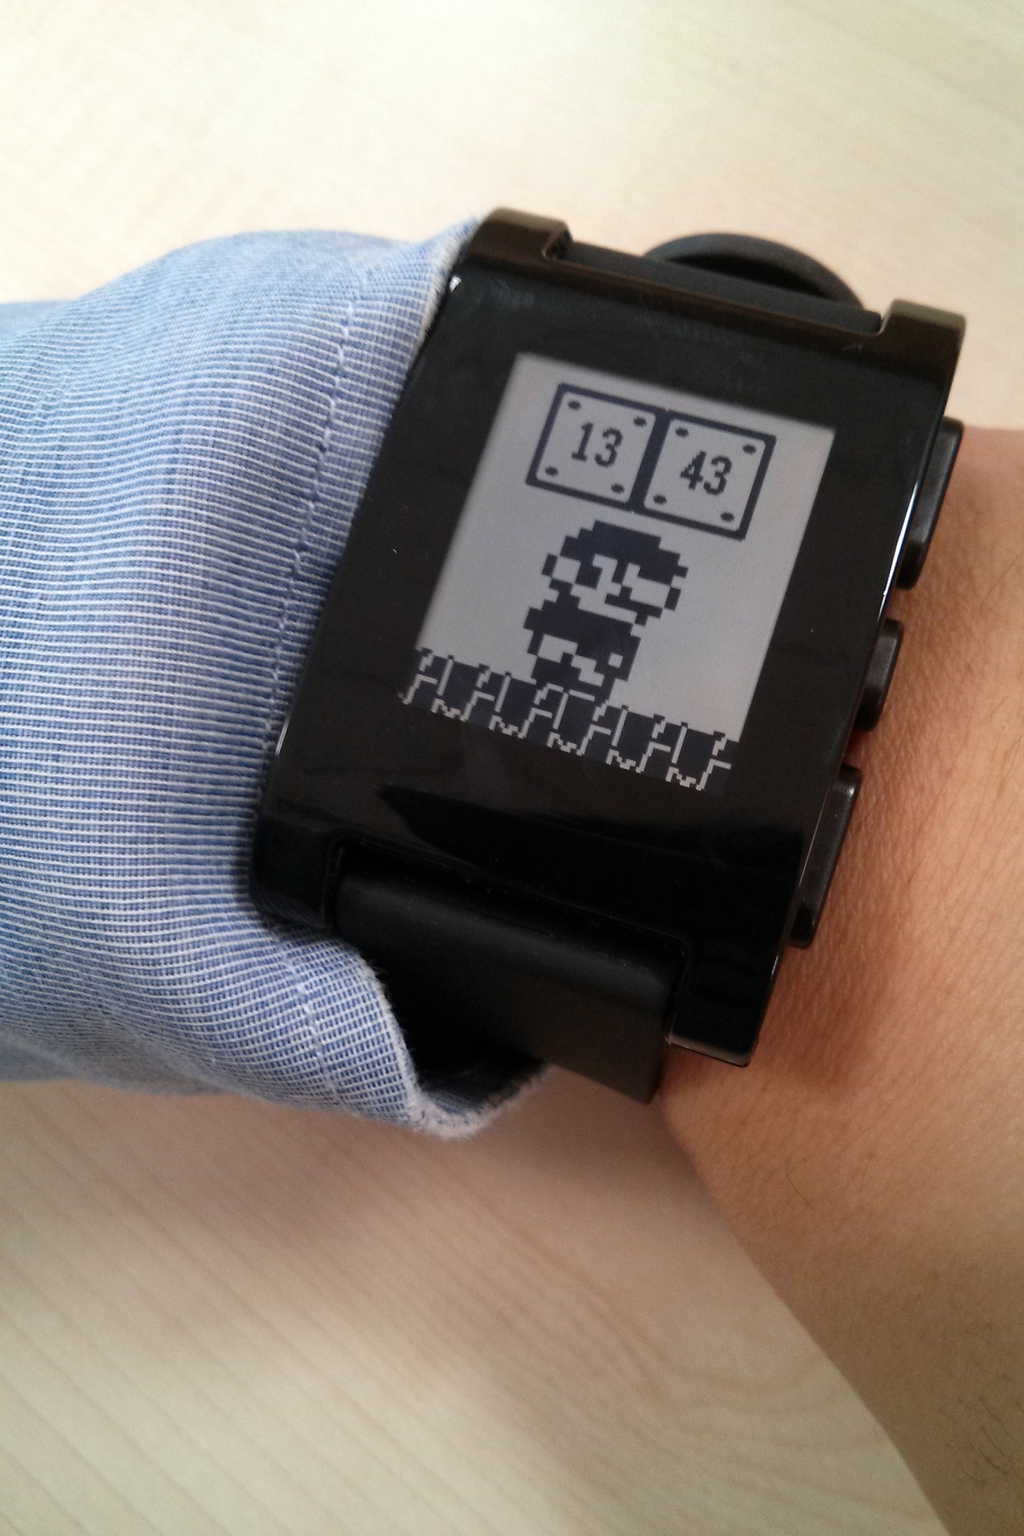
Some times ago, I finally received my black Pebble and I immediately started to install some of the watchapps that existed at the time.
With the release of the new PebbleKit with two-way communication, I decided to give the SDK a try, with a very simple WatchApp.
It is a “find my phone” WatchApp which trigs the Ringtone and the screen.
You know, for times like this:
Pebble development with ArchLinux
The SDK Documentation suggests to use Ubuntu.
For various and personal reasons, I use ArchLinux as my Linux dev box.
So here are the steps to set up an ArchLinux for Pebble development:
-
Install Python 2 and Pip 2.
As root:
pacman -S python2 pip2 -
Get libmpc.so.2 from the Arch Rollback Machine.
Go to the ARM search page and get the libmpc-0.9-2 package.
-
Downgrade the package and prevent pacman from update it.
As root:
pacman -U libmpc_packageIn
/etc/pacman.confadd:IgnorePkg = libmpc -
Switch symlink python to python2.
As root:
ln -s /usr/bin/python2 /usr/bin/python
Now you are ready to build the SDK and the watchapps!
Deploy Pebble watchapp with Dropbox
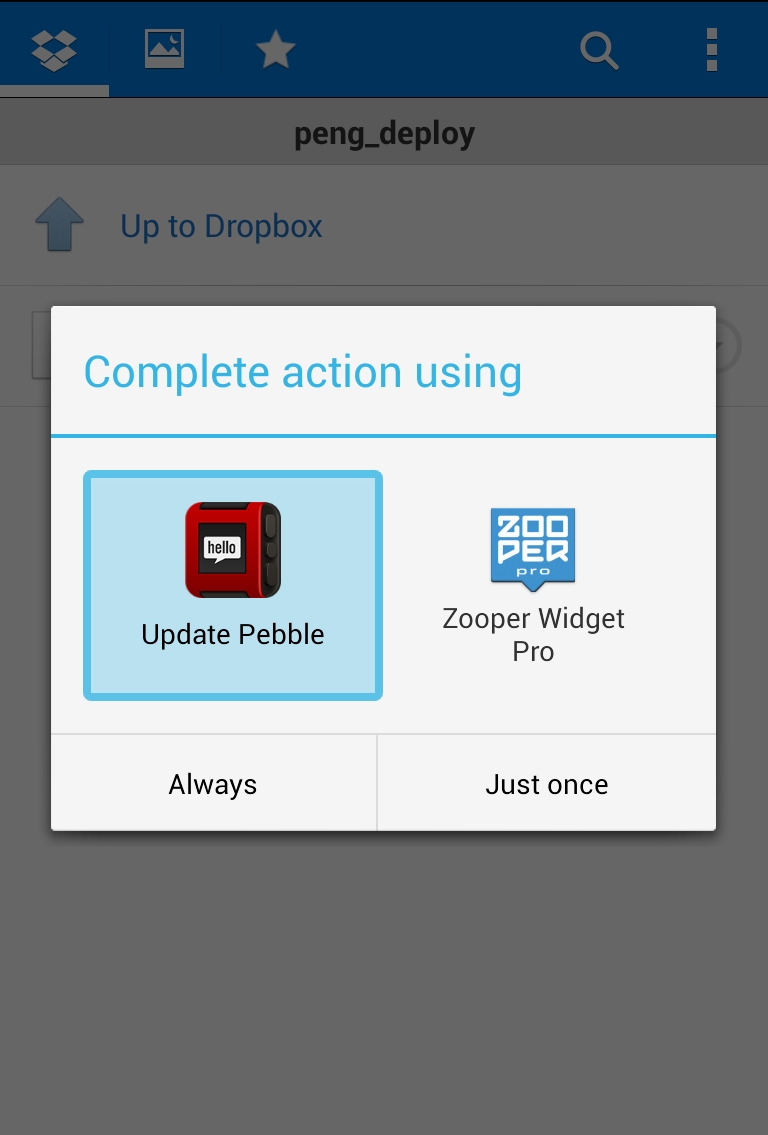
To install a watchapp, you have to open an url in your Android device that points to the .pbw file (which is the file containing the built source code) and the SDK documentation suggests you to use the built-in python webserver to serve the file.
For various reasons, I don’t use this method but I copy the the .pbw file in a Dropbox folder that I open from my Android device.
I don’t know if this is a better method, it is simply easier to use with my network configuration. Also, this way I can easily share the watchapp with certain persons only, by sharing the Dropbox folder accordingly.
Peng – Pebble
I wanted to develop a complex Pebble watchapp, at least more complex that it could be, to explore and play around with the PebbleKit.
So I chose to make the Android side stateless: no settings are saved by the app.
Instead of letting the user choose the volume in the Android app, for instance, I let the Pebble watchapp to resend the volume value everytime it sends the Peng! command.
With this design, the Android Service is also simplier: it does not have to save its state in case it gets stopped and restarted by the OS.
Of course this means that no settings are being saved at all, as PebbleKit do not let watchapp to save anything.
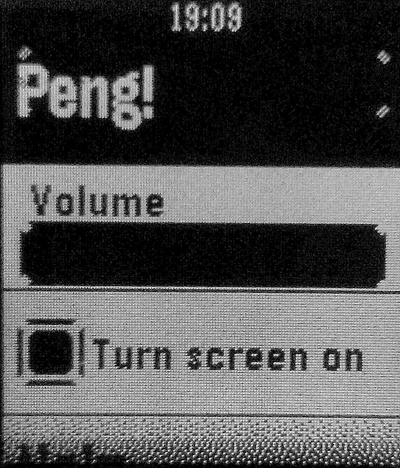
Here are some photos of the resulting watchapp UI:
The elements of the MenuLayer are hand-drawn in mainMenuDrawRow in mainmenu.c, calling PebbleKit graphics primitives like graphics_text_draw and graphics_draw_round_rect, following the values of mainMenuStatus accordingly.
The SELECT button of the Pebble is managed differently according on which item is selected in the MenuLayer.
Pressed at the Volume item, it switch the watchapp state machine so that UP / DOWN buttons are used to change the Volume level. Pressing SELECT again reset the two buttons to let the user select another item of the MenuLayer.
Pressed at the Screen item, it checks and unchecks the drawn checkbox.
Pressed at the at Peng! item, it sends the command to the Android part, using three Tuplet with also the values of Volume and Screen. Pressing SELECT again, it sends the Stop command to the Android device but it doesn’t switch status until it receive the confirmation from the Android Service. This way the user can issues multiple Stop commands if some are not delivered.
As seen, the behaviors of all three Pebble buttons are not the default ones.
To change the default behaviors, I treated the MenuLayer as a ScrollLayer, setting its click_config_provider with a ScrollLayerCallbacks, calling scroll_layer_set_callbacks. After that, I switch the ClickConfigProvider of the Window with the internal one of the MenuLayer, calling menu_layer_set_click_config_onto_window. As the documentation says, that function calls scroll_layer_set_click_config_onto_window which preserves a custom click_config_provider.
All these things are in addMainMenu() of mainmenu.c.
PengAndroid
The Android app is very simple: an Activity with a Service.
The Service handle the communications with the Pebble through a PebbleKit.PebbleDataReceiver and it is started automatically at boot with a receiver of android.intent.action.BOOT_COMPLETED. It is also started everytime the user manually launch the app and it can be stopped through a command of the Activity’s Menu.
The Service will ring your phone even if it is in vibration mode and will try to restore your previous volume level when you stop the ringtone.
Links
Finally, if you want to check everything out, here are the links:


